MyGymBuild
Sign In
MyGymBuild
Sign In
DIY Build Guide

DIY Cable Pulley Tower

A single high pulley with a plate-loaded loading pin — anchored to a power rack or overhead beam for lat pulldowns, pushdowns, face pulls, and curls. Built from hardware-store cable and rigging parts, following Garage Gym Reviews' build.

Difficulty / mediumCost / ~$60Steps / 6
Step 1 of 60% complete
01

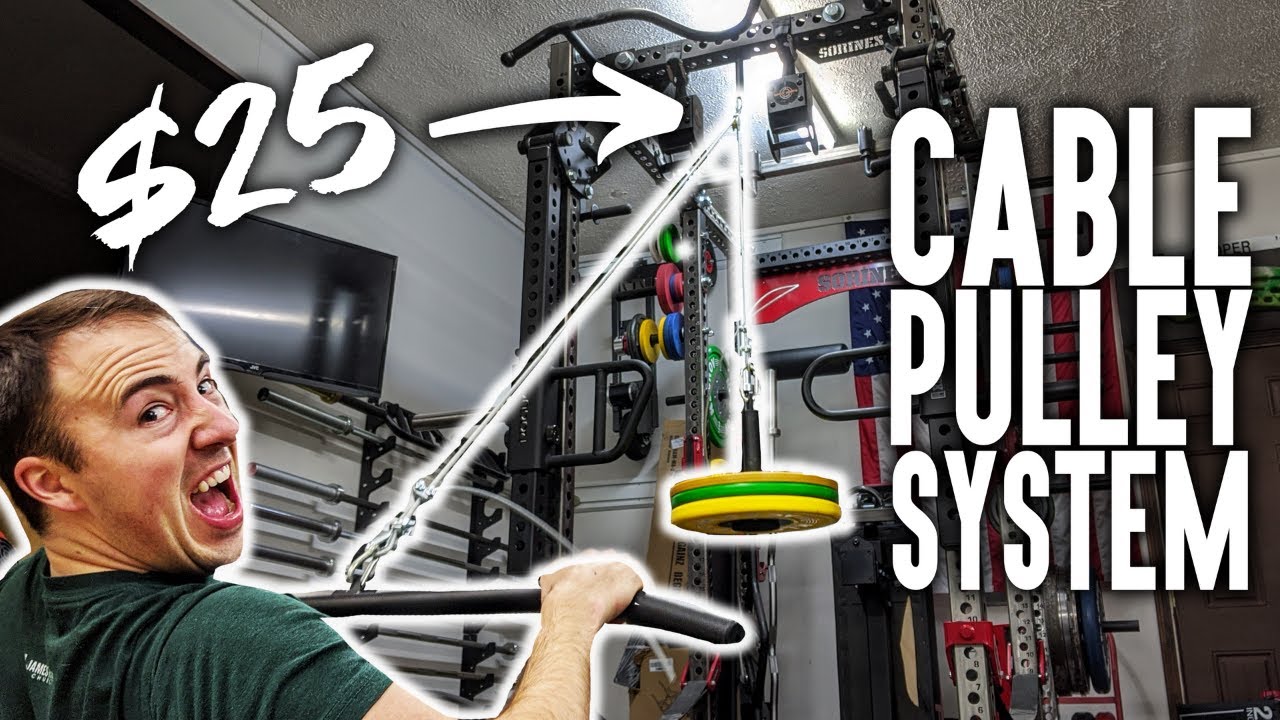
Watch the build first

Play the linked Garage Gym Reviews video end-to-end before buying anything — it walks the whole single-pulley, plate-loaded layout and shows how the cable, chain, and loading pin connect. Pause it at the parts-list shots and match each item to the materials above.

TipThe video uses one high pulley off a rack or beam — much simpler than a two-pulley weight stack, and it's the layout these steps follow.
02

Pick your high anchor

Choose a solid overhead anchor: a power-rack crossmember (cleanest option) or a ceiling joist/beam. The pulley hangs from this point and takes the full loaded weight, so it must be rated framing or steel — never drywall.

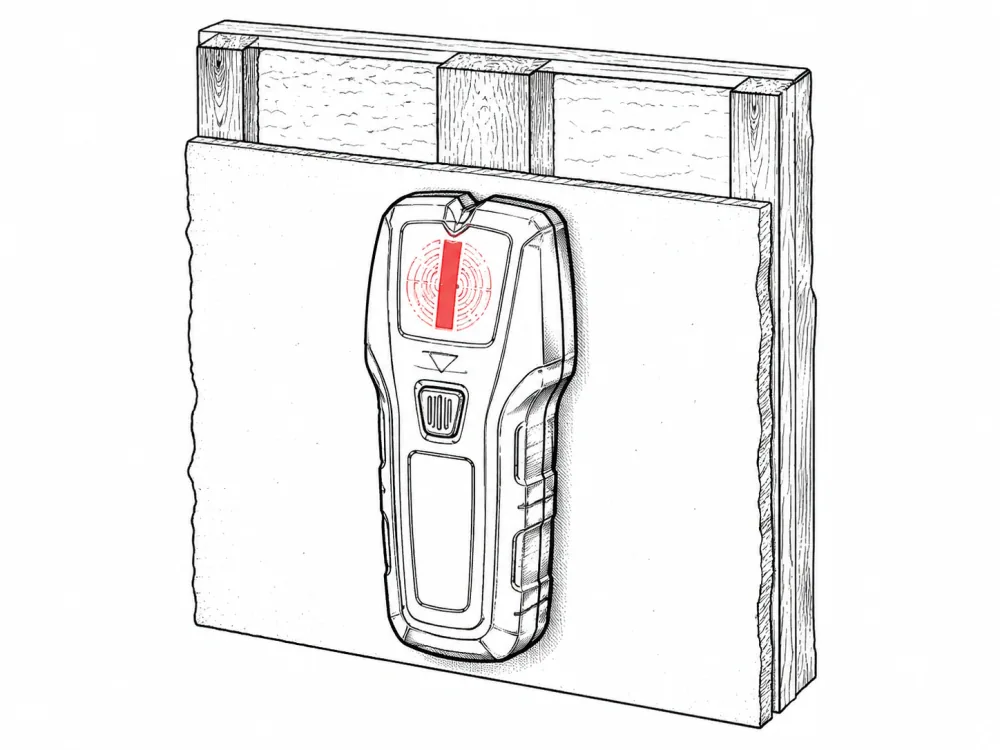
⚠️ If you anchor to a ceiling joist instead of a rack, hit solid wood with a lag eye bolt and confirm with a stud finder. A pulley that tears out under load snaps back violently.
03

Build the cable ends

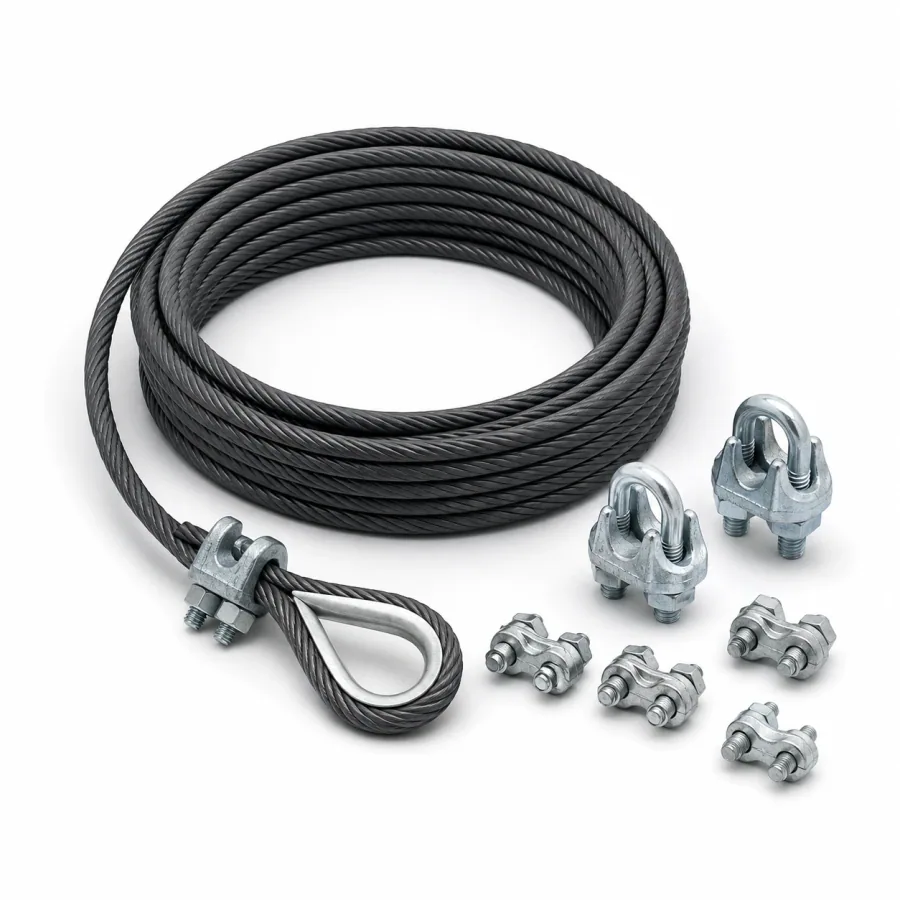
Cut the coated cable to length. On each end, fold a loop around a thimble and lock it with a rope clamp, then back it up with a wire rope clip. Tug-test each loop hard — neither should slip.

TipLeave the cable slightly long on the first fit; you can re-clamp shorter, but you can't add cable back.
04

Hang the pulley and run the cable

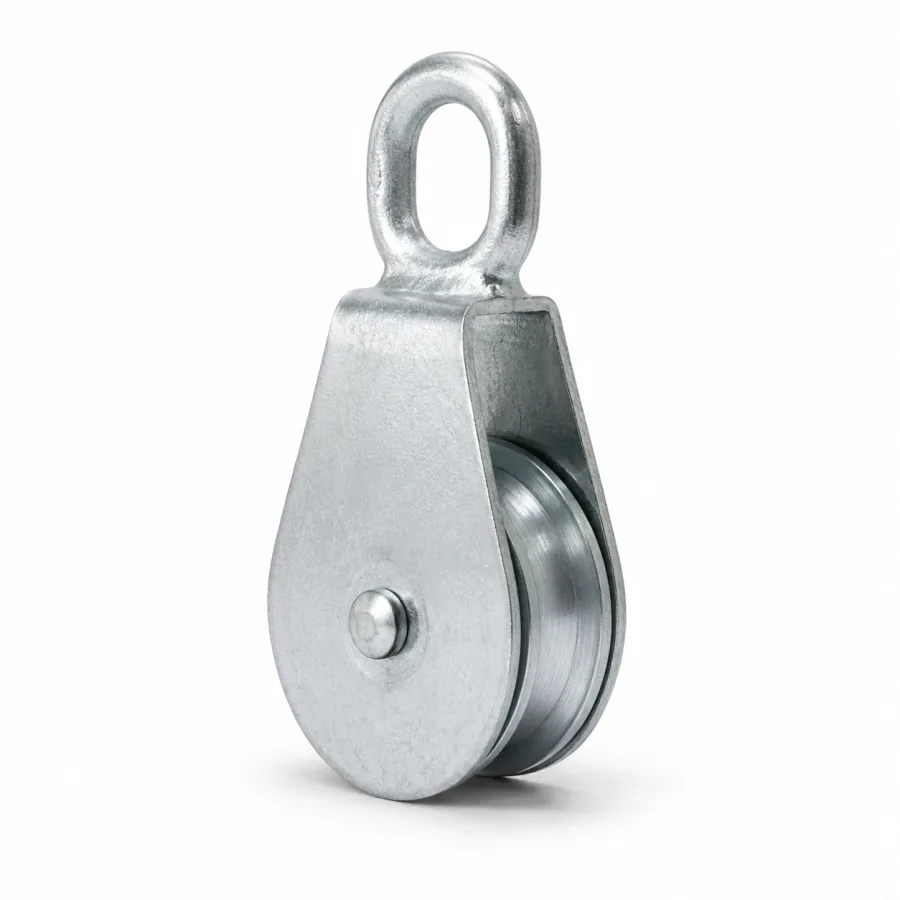
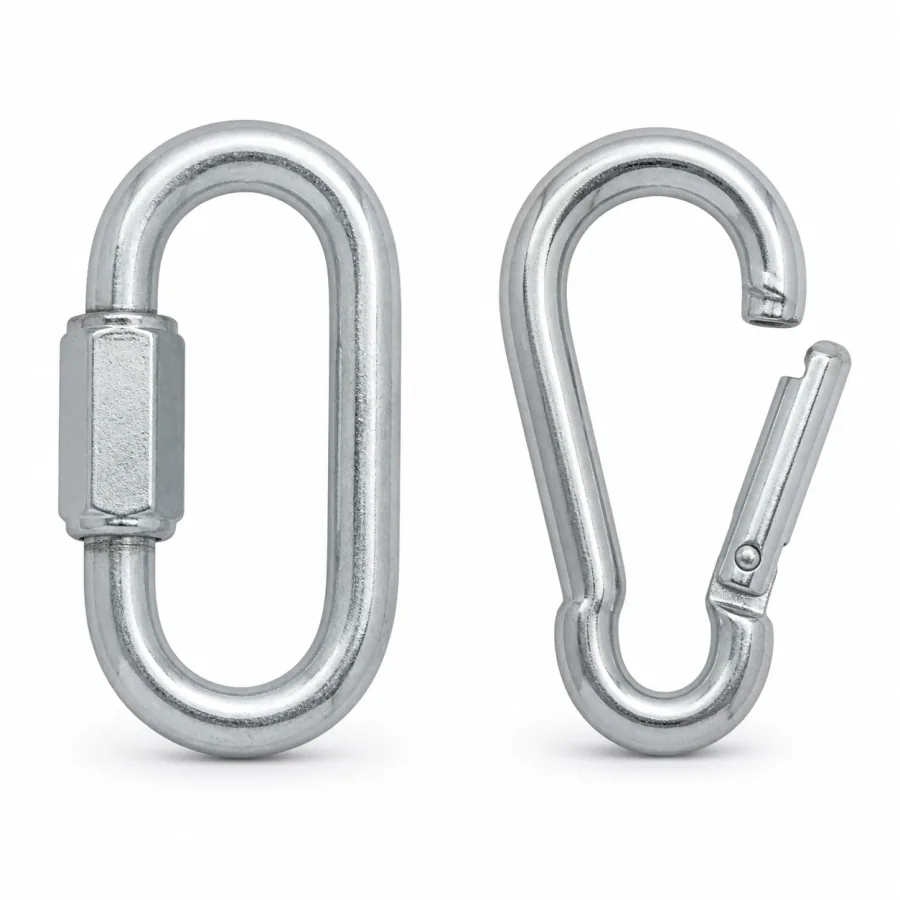
Clip the pulley to your high anchor with a snap link. Run the cable over the pulley wheel: one looped end gets a quick link for the handle, the other gets a quick link to the chain. Make sure the cable seats in the pulley groove and doesn't rub the frame.

05

Rig the loading pin

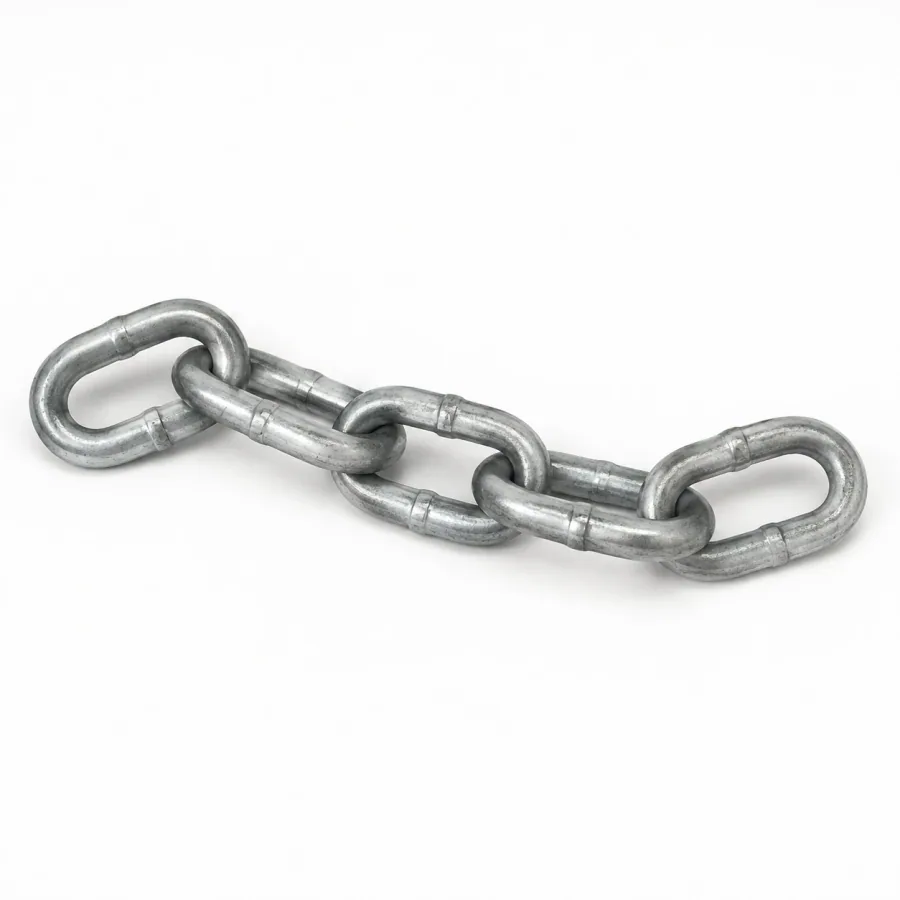
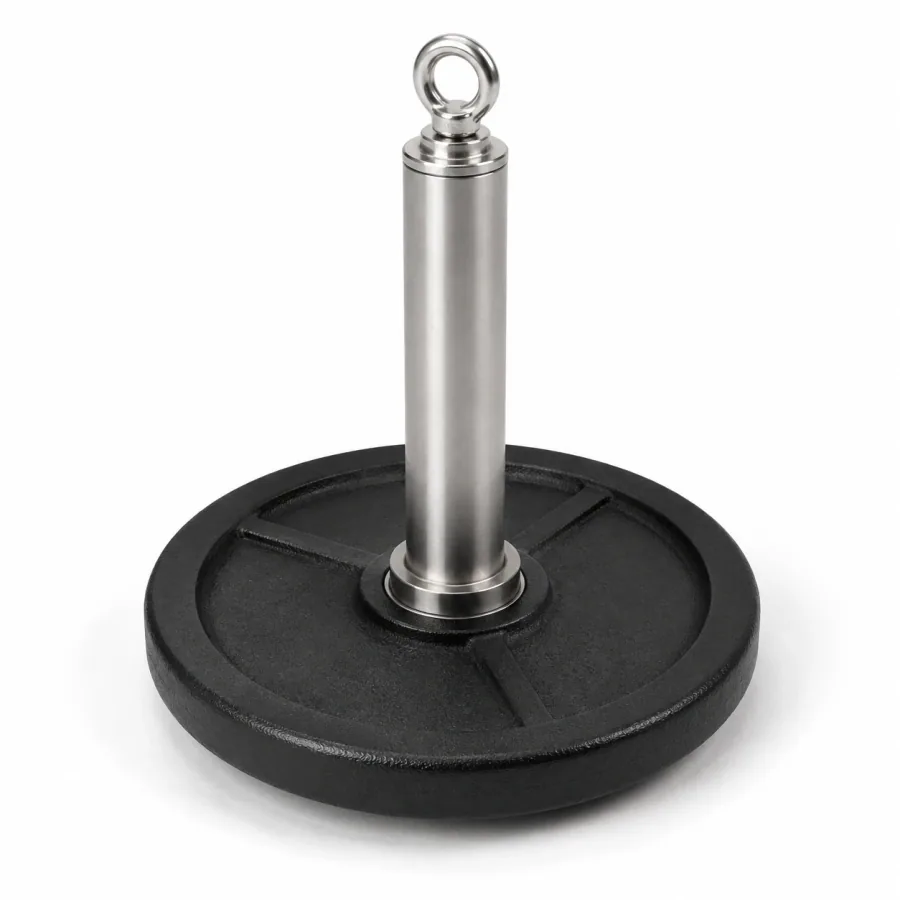
Attach the chain to the loading pin with a quick link, and clip the chain to the cable's lower end. Slide the chain link you clip to up or down to set how high the pin rides — higher for pulldowns, lower for pushdowns and curls.

06

Load light and stress-test

Start with 10–20 lb on the pin. Do slow pulldowns and pushdowns, watching the anchor, every clamp, and the pulley for any movement or slip. Add weight only after a full inspection.

⚠️ Re-check all clamps, quick links, and the anchor after the first few sessions — rigged cable settles in. Never stand directly under the pulley while loading the pin.
Reference Video
Steps
Tools
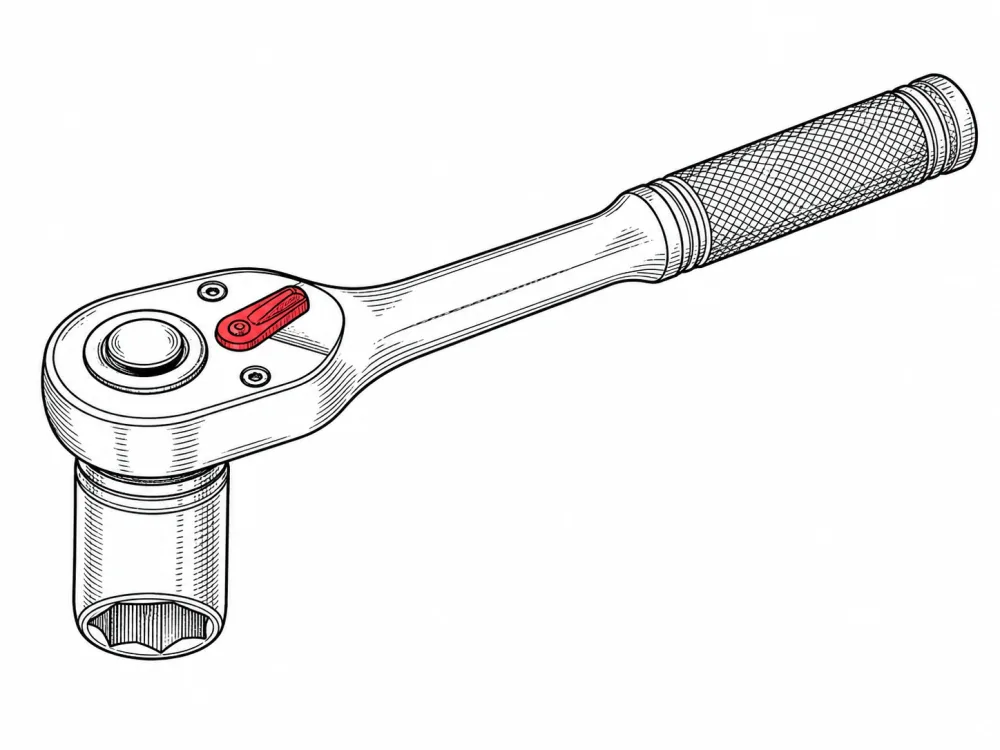
  • ·Socket/wrench
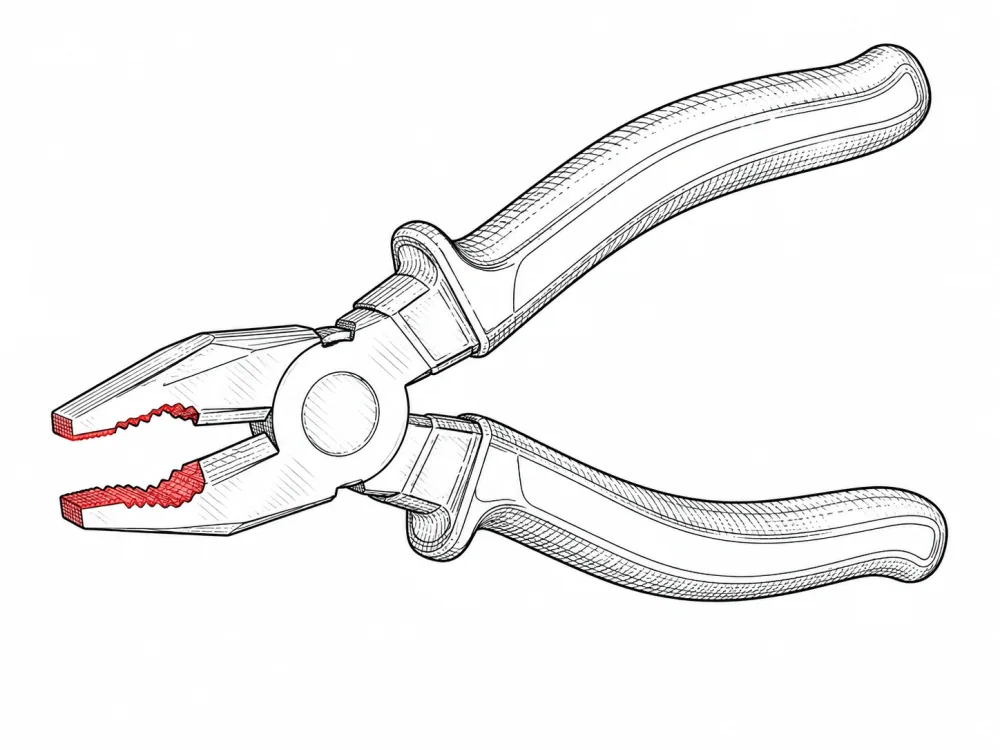
  • ·Pliers
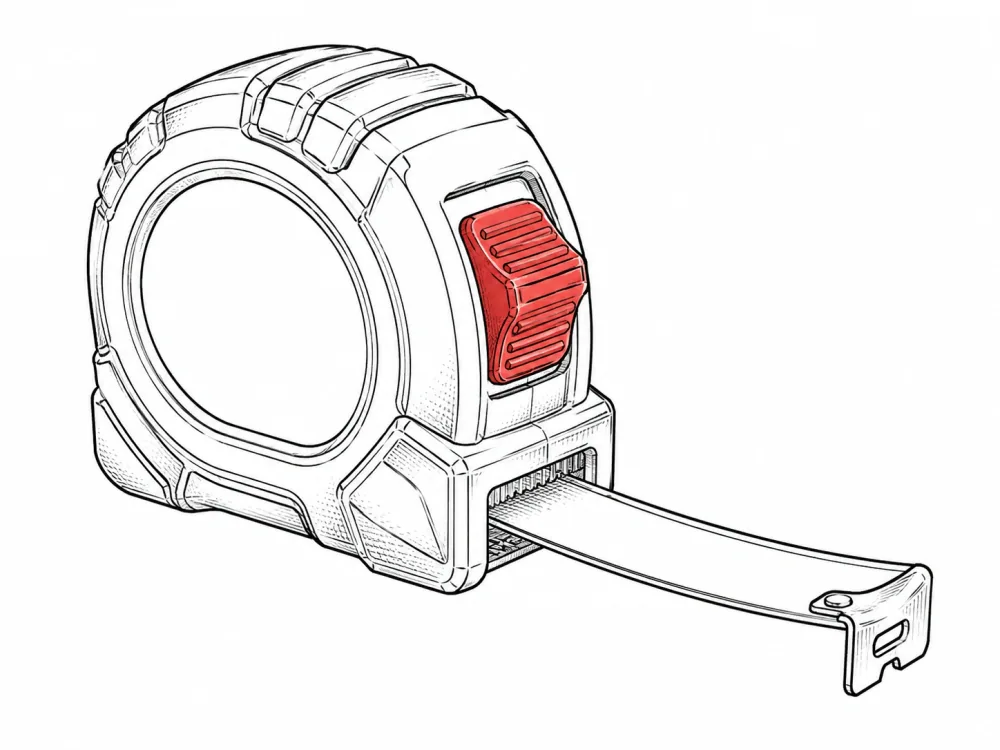
  • ·Tape measure
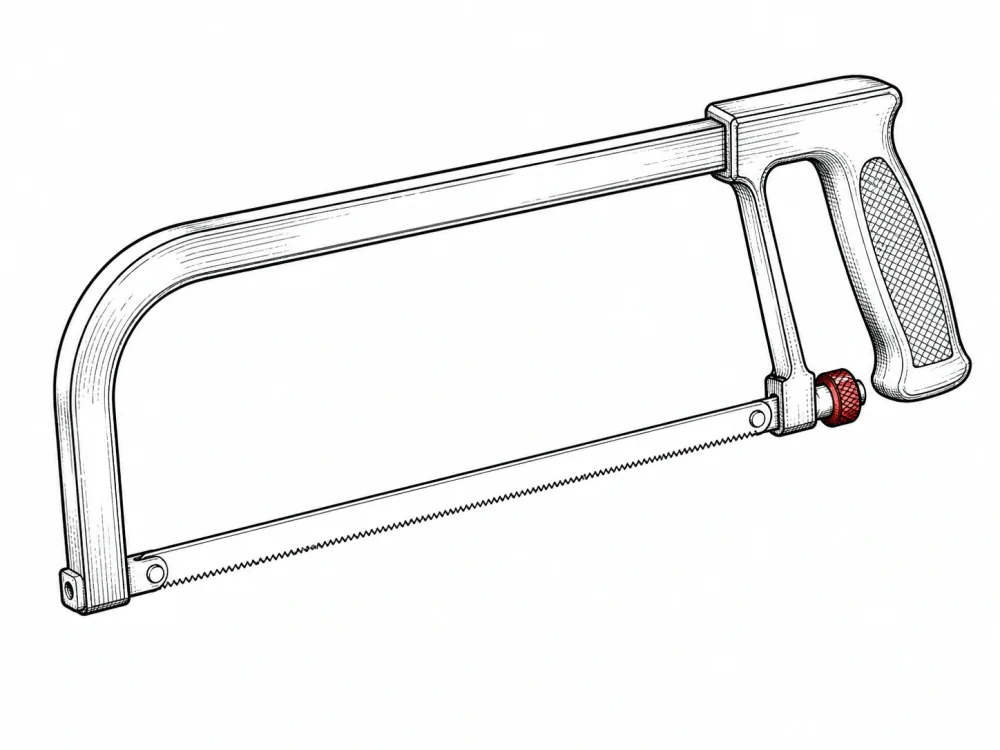
  • ·Hacksaw (if trimming the loading pin)
  • ·Stud finder (for a ceiling-beam mount)
Materials
  • 1.5" single-eye pulley1
    rated 400+ lb · The high pulley the cable runs over.
  • 1/4" coated steel cable~6 ft 6 in
    Coated, never bare — bare cable frays and bites your hands. Length depends on your ceiling/rack height.
  • Rope clamp + thimble sets2
    Form the loop on each cable end so it can't pull through under load.
  • Wire rope clips2
    Back up each thimble loop.
  • Quick links2
    1/4" · Join the cable ends to the handle and to the loading-pin chain.
  • Spring snap links / locking carabiners2
  • 1/4" steel chain~3 ft
    Connects the cable to the loading pin and lets you adjust working height.
  • Plate-loading pin1
    1" pin that accepts standard plates. Buy one or weld a short Olympic sleeve to a chain end.
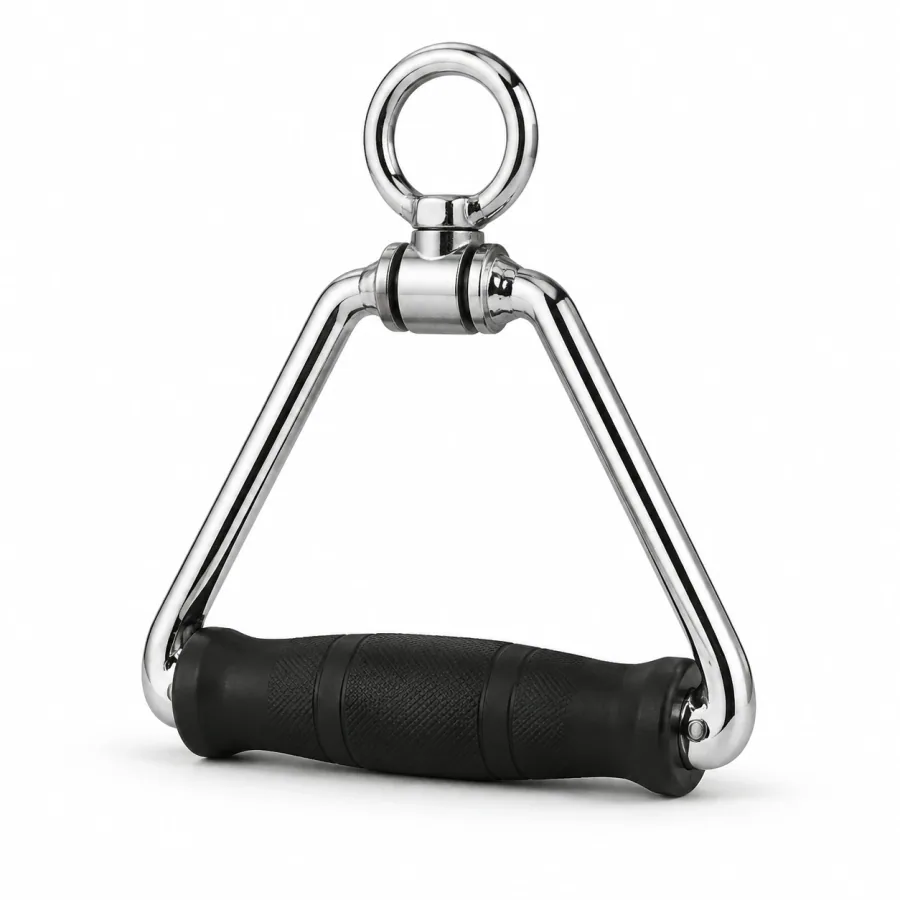
  • Cable handle / single D-handle1